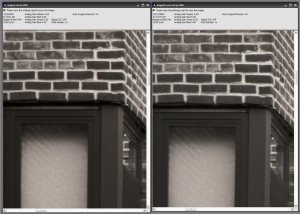
Wet scanning should be required if you care about quality. Maybe it is too soon for me to say that, but the screen shots of my initial results should make you wonder why there is any debate. If you have read up on drum scanning then you should already know about how film is mounted to the drum – in part by using a special fluid then overlaid with a clear film. There are kits that help you do that with most scanners and in my case, with the Nikon Coolscan 9000 ED.
My initial test compares the results of a dry and wet scan of the same negative. The image was captured with a Mamiya 7ii, 80mm f4 outfit. It was an extended exposure, taken at dusk. The film is 120 Kodak TMAX 400 developed at LTI New York City. The scan was performed with the same settings – 4000dpi; scale 100%; 16bit; multi-sample 1x; CCD Scan Mode set to superfine; scan image enhancer on; custom focus, black and white points. This resulted in NEF (RAW) files on disk exceeding 550MB files. Slight differences in crop are responsible for the file difference. The wet scan fluid is Scan Science’s Lumina – a full review to come!
To keep things as simple and neutral as possible the screen shots that follow are from Nikon Scan. No processing has been performed on either, what we see is what was captured and saved. Snagit was used to capture the screens and the only modification is cropping out the main user interface of Nikon Scan. To properly view this comparison you will need to see the large versions of the following images (~2MB PNGs) by clicking the smaller versions below.
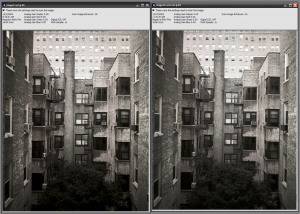
The first image shows the dry scan (left) and the wet scan (right). Each is at 8% with the scan settings area of the image view displayed to show all things that could be recorded are equal. Notice the greater tonal depth on the wet scan specifically in the shadows. Notice the crisper detail in the bricks, especially around the chimney top.
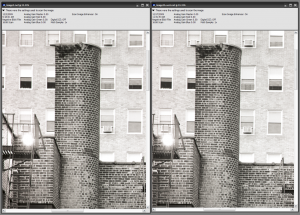
The next image zooms into the chimney at 33.33%. The details apparent at 8% are now very clear. Notice the dust caught in the wet scan. I didn’t realize how much was there. Compressed air and lint-free tissues are now in hand for future scans. An anti-static brush is on my B&H wish list.
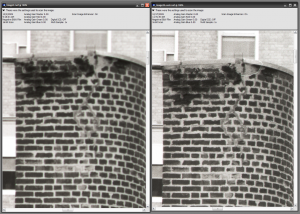
This following image is the same view zoomed to 100%. This shows without question, the wet scan on the right more detailed and has greater dynamic range.
The differences were so dramatic that I questioned if the focus points were the same. The default focus point is middle negative. The following image compares both at approximately middle image. At this 100% view the differences are subtle, but present. Again, notice the richer darks on the right and greater overall range. What is muddy gray on the left is a stronger gray tone on the right. The grain structure from the window (upper right) is simpler and smoother when comparing the two scans.
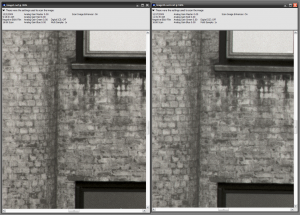
This final image is found on the left middle of the image and offers yet another point of comparison. It shows the bricks and window frame of an apartment. Again, notice the overall dynamic range, but more importantly, review the detail seen in the brick.
If you caught me a couple of weeks ago, I would have told you that wet scanning might be a gimmick. I wasn’t convinced from what I could find and while the 9000 ED is a great scanner it isn’t a drum scanner, so I didn’t presume the comparison in process was transferable. At the very least, it can be said, that for black and white negatives, wet scanning is a must. The quality is apparent with almost no detailed review. The effort added to the overall workflow is relatively small and the cost is nominal when compared to all the other things photo geeks spend money on.
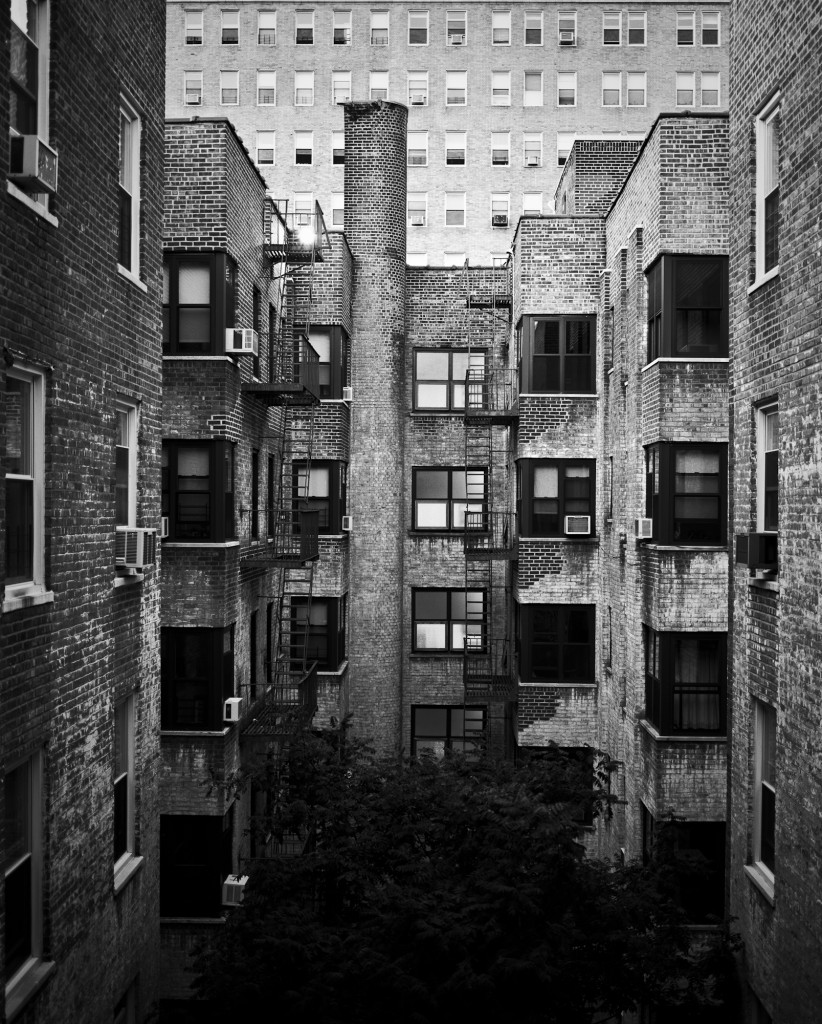
Finally, this is the image after being imported into Adobe Photoshop Lightroom. I adjusted the crop slightly to align the horizon (noticeable at the top). Basic treatment includes conversion to grayscale, Recovery set to 12 and Clarity to 80. Tone curve is set to the Medium Contrast setting. No additional sharpening was applied. A slight vignette is added at an Amount of -15. I then edited a copy in Adobe Photoshop to review and remove a few dozen dust threads and two air bubbles at 100%. While I was there I removed the distracting light in the lower right. I am not sure I would say I am done, but my intent was to show a “clean” version of the image for review. The JPEG export was done at 100% quality, sRGB, 75ppi and 2000 pixels on its largest edge. The version below is a reduced size, remember to view the full sized version by clicking the image.
